Read the HUD, Read the Player: What Brawl Stars Screenshots Secretly Reveal About Trophy Range
Every screenshot tells two stories. The first one is obvious — the flashy play, the near-death escape, the perfectly timed super. The second story is quieter, tucked into the corners of the frame, hiding in plain sight inside the HUD. And if you know how to read it, that second story will tell you almost exactly what trophy range you're looking at before you even clock the username.
This isn't some mystical skill reserved for pros. It's pattern recognition, and once you know what to look for, you'll never watch a clip the same way again.
Why the HUD Doesn't Lie
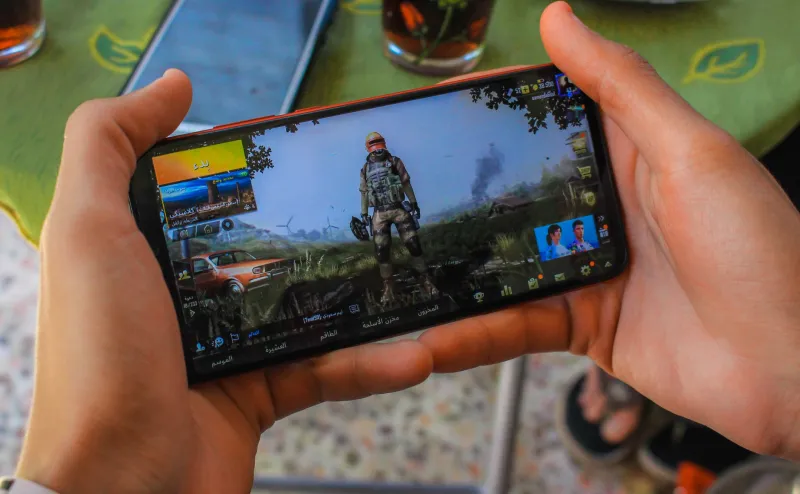
Supercell's interface is designed to give players real-time information about the match. Health bars, ammo pips, super charge meters, gem counts, star power indicators — every element on that screen reflects a decision the player is making (or not making) right at that moment. When you freeze the frame, those decisions get locked in place. And decisions, it turns out, are a pretty reliable fingerprint for skill level.
The HUD isn't just functional. It's a behavioral snapshot.
High-trophy players interact with the HUD differently than low-trophy players. Not because the interface changes, but because what they're paying attention to changes. That difference shows up in screenshots in ways that are surprisingly readable once you train your eye.
The Ammo Bar: The First Thing Experienced Eyes Check
Look at the ammo pips at the bottom of the screen. In a screenshot from a lower-trophy match, you'll frequently catch players firing on one or even zero ammo pips — either they're spam-shooting without tracking their reload cycle, or they're holding their last shot without any apparent reason. Both are tells.
Higher-level players tend to appear in screenshots with ammo counts that make sense contextually. Two pips going into a bush-check. Full ammo held while retreating. One pip saved specifically for a finishing shot. The ammo bar in a well-played screenshot almost always reflects deliberate resource management.
This is one of the fastest reads you can make. Catch someone with zero ammo in the middle of an open lane and you're probably not looking at a 50,000-trophy account.
Super Charge Percentage: The Patience Indicator
The super meter is arguably the most information-dense element in the entire HUD. How charged it is — and more importantly, when a player chooses to use it — reveals a ton about game knowledge.
In screenshots from lower-ranked matches, you'll often see supers used at weird moments: barely charged, used in low-stakes situations, or — and this one's a classic — clearly just fired at a wall. The visual aftermath of a poorly timed super (enemy still alive, no obvious advantage gained) is something you can usually reconstruct from the surrounding frame context.
Conversely, screenshots from higher-trophy play tend to capture supers at critical inflection points. The charge bar is either full and being held strategically, or it's just been used and the result is evident in the positioning of every brawler on screen. Patience with the super is a high-trophy habit, and it shows.
Health Bar Positioning: Where Are They Standing When They Got Hit?
This one requires a little more spatial reasoning, but it's worth it. Look at a player's health bar and then look at where they are on the map in relation to cover, enemies, and objectives.
Lower-trophy players tend to take chip damage in positions that don't make strategic sense — standing in the open at half health, pushed up past the midline without backup, or hugging a wall that provides zero actual cover. The health bar number combined with their map position tells you whether they got there through aggression or carelessness.
Elite players in screenshots are usually either at full health (they dodged), low health but in a clearly intentional diving scenario, or they've just traded efficiently and the enemy's health reflects it. The relationship between your health and your position is the tell — not the number alone.
Gem and Objective Counts: Who's Thinking About the Win Condition?
In modes like Gem Grab or Brawl Ball, the objective indicators on the HUD are a direct window into a player's macro-game awareness. Screenshots that capture a player holding eight or more gems while positioned aggressively in enemy territory? That's a lower-trophy habit. High-gem carriers playing from safety, using terrain, forcing the enemy to come to them — that's a different story.
Same goes for Brawl Ball. Look at who has the ball and where they are on the field. Are they forcing a play into a brick wall? Or are they waiting for a lane to open? One screenshot of a ball carrier's position will tell you more about their game sense than a highlight reel of their goals.
Cursor and Joystick Positioning: The Sneaky One
This is the detail most people completely overlook. On mobile screenshots, you can sometimes catch the virtual joystick position and the aim indicator direction simultaneously. When those two things are misaligned — player moving one way, aiming another — it's either a high-skill maneuver (strafe-aiming) or a hot mess, and the rest of the screenshot context usually tells you which.
Strafe-aiming while tracking a moving target is a skill that shows up almost exclusively in higher-trophy play. When you see it locked in on a fast-moving brawler while the player is simultaneously repositioning, you're looking at someone who's put in serious hours. When the aim indicator is pointing at a wall while the player is running directly at an enemy? Different story.
Putting It Together: The Full Read
The real skill isn't catching one of these signals in isolation — it's stacking them. A screenshot where the ammo is managed smartly, the super is held at a tactically appropriate charge, the health-to-position ratio makes sense, and the aim indicator is tracking a real threat? That's a high-trophy screenshot, full stop. You don't need to see the trophy count.
Next time you're scrolling through clips on the feed or watching a highlight here on Brawl Snapshots, try pausing on a random frame and running through the checklist. Ammo, super, health position, objective awareness, aim direction. Give yourself ten seconds to build a mental profile of the player before you check who it is.
You'll be right more often than you expect — and you'll start to see the game in a completely different way.
The HUD was always talking. Most players just weren't listening.